In this Article
I will show you two different solutions for a local WordPress Theme Development Environment for macOS and How to set them up. I will also point out my personal favorite and why I chose it over the other solution.
Motivation
Soooo… Why do I share this?
For my client projects, I build custom WordPress Themes. And to do this, you need some sort of local development WordPress Theme Development Environment for macOS, where you can test things out and see if they work or not. I mean – you could also do it without, code blindfolded and test in production. But this is a very bad practice. Wouldn’t recommend.
So back to the story… Recently, I was developing a theme, when my MacBook notified me, that there is an update for macOS Sonoma 14.1.1 available. As my concentration was going to an end anyway, I accepted my faith and updated my macOS.
BUT… When the update was done, and I tried to start my local development environment again – it was not working anymore.
For the nerds: I was using docker-compose with a database and an Apache server with 2 volumes assigned for the theme and a plugin that I was developing. But the Apache server was crashing when I tried to access the website in the browser. Immediately. And after a short period of time, my database was also crashing and rebooting in circles.
So… What is the Best WordPress Theme Development Environment for macOS?
After a huge amount of trial and error, googling, asking ChatGPT for fixes and asking a friend I gave up and went to sleep. The next morning I researched for alternatives and I am honestly so glad that this happened to me, because what I found then is way better than my previous environment. I present to you:
Solution: Local Development Environment with LocalWP
LocalWP literally saved my ass. It is unbelievably easy to install, understand and use. And it has such great features! Here a quick overview:
- Start a WordPress server with 3 clicks
- Much faster than docker (on my machine)
- Create a funnel to the web, to show your clients the current state of the progress – with one click!
- The WordPress files are stored locally, you can just open the whole thing in your code editor directly
- Create blueprints for new projects
- And the best: It’s FREE!
So this is great. I used it for a while now and as I said, I am happy that docker failed on my machine. Because otherwise I wouldn’t ever looked for another solution. I think.

How to get it?
You can easily go on their website and download it for macOS or any other OS you want to.
You can also create a free account, to access all of the features. But also without an account, you have all necessary features to start developing.
How to use it
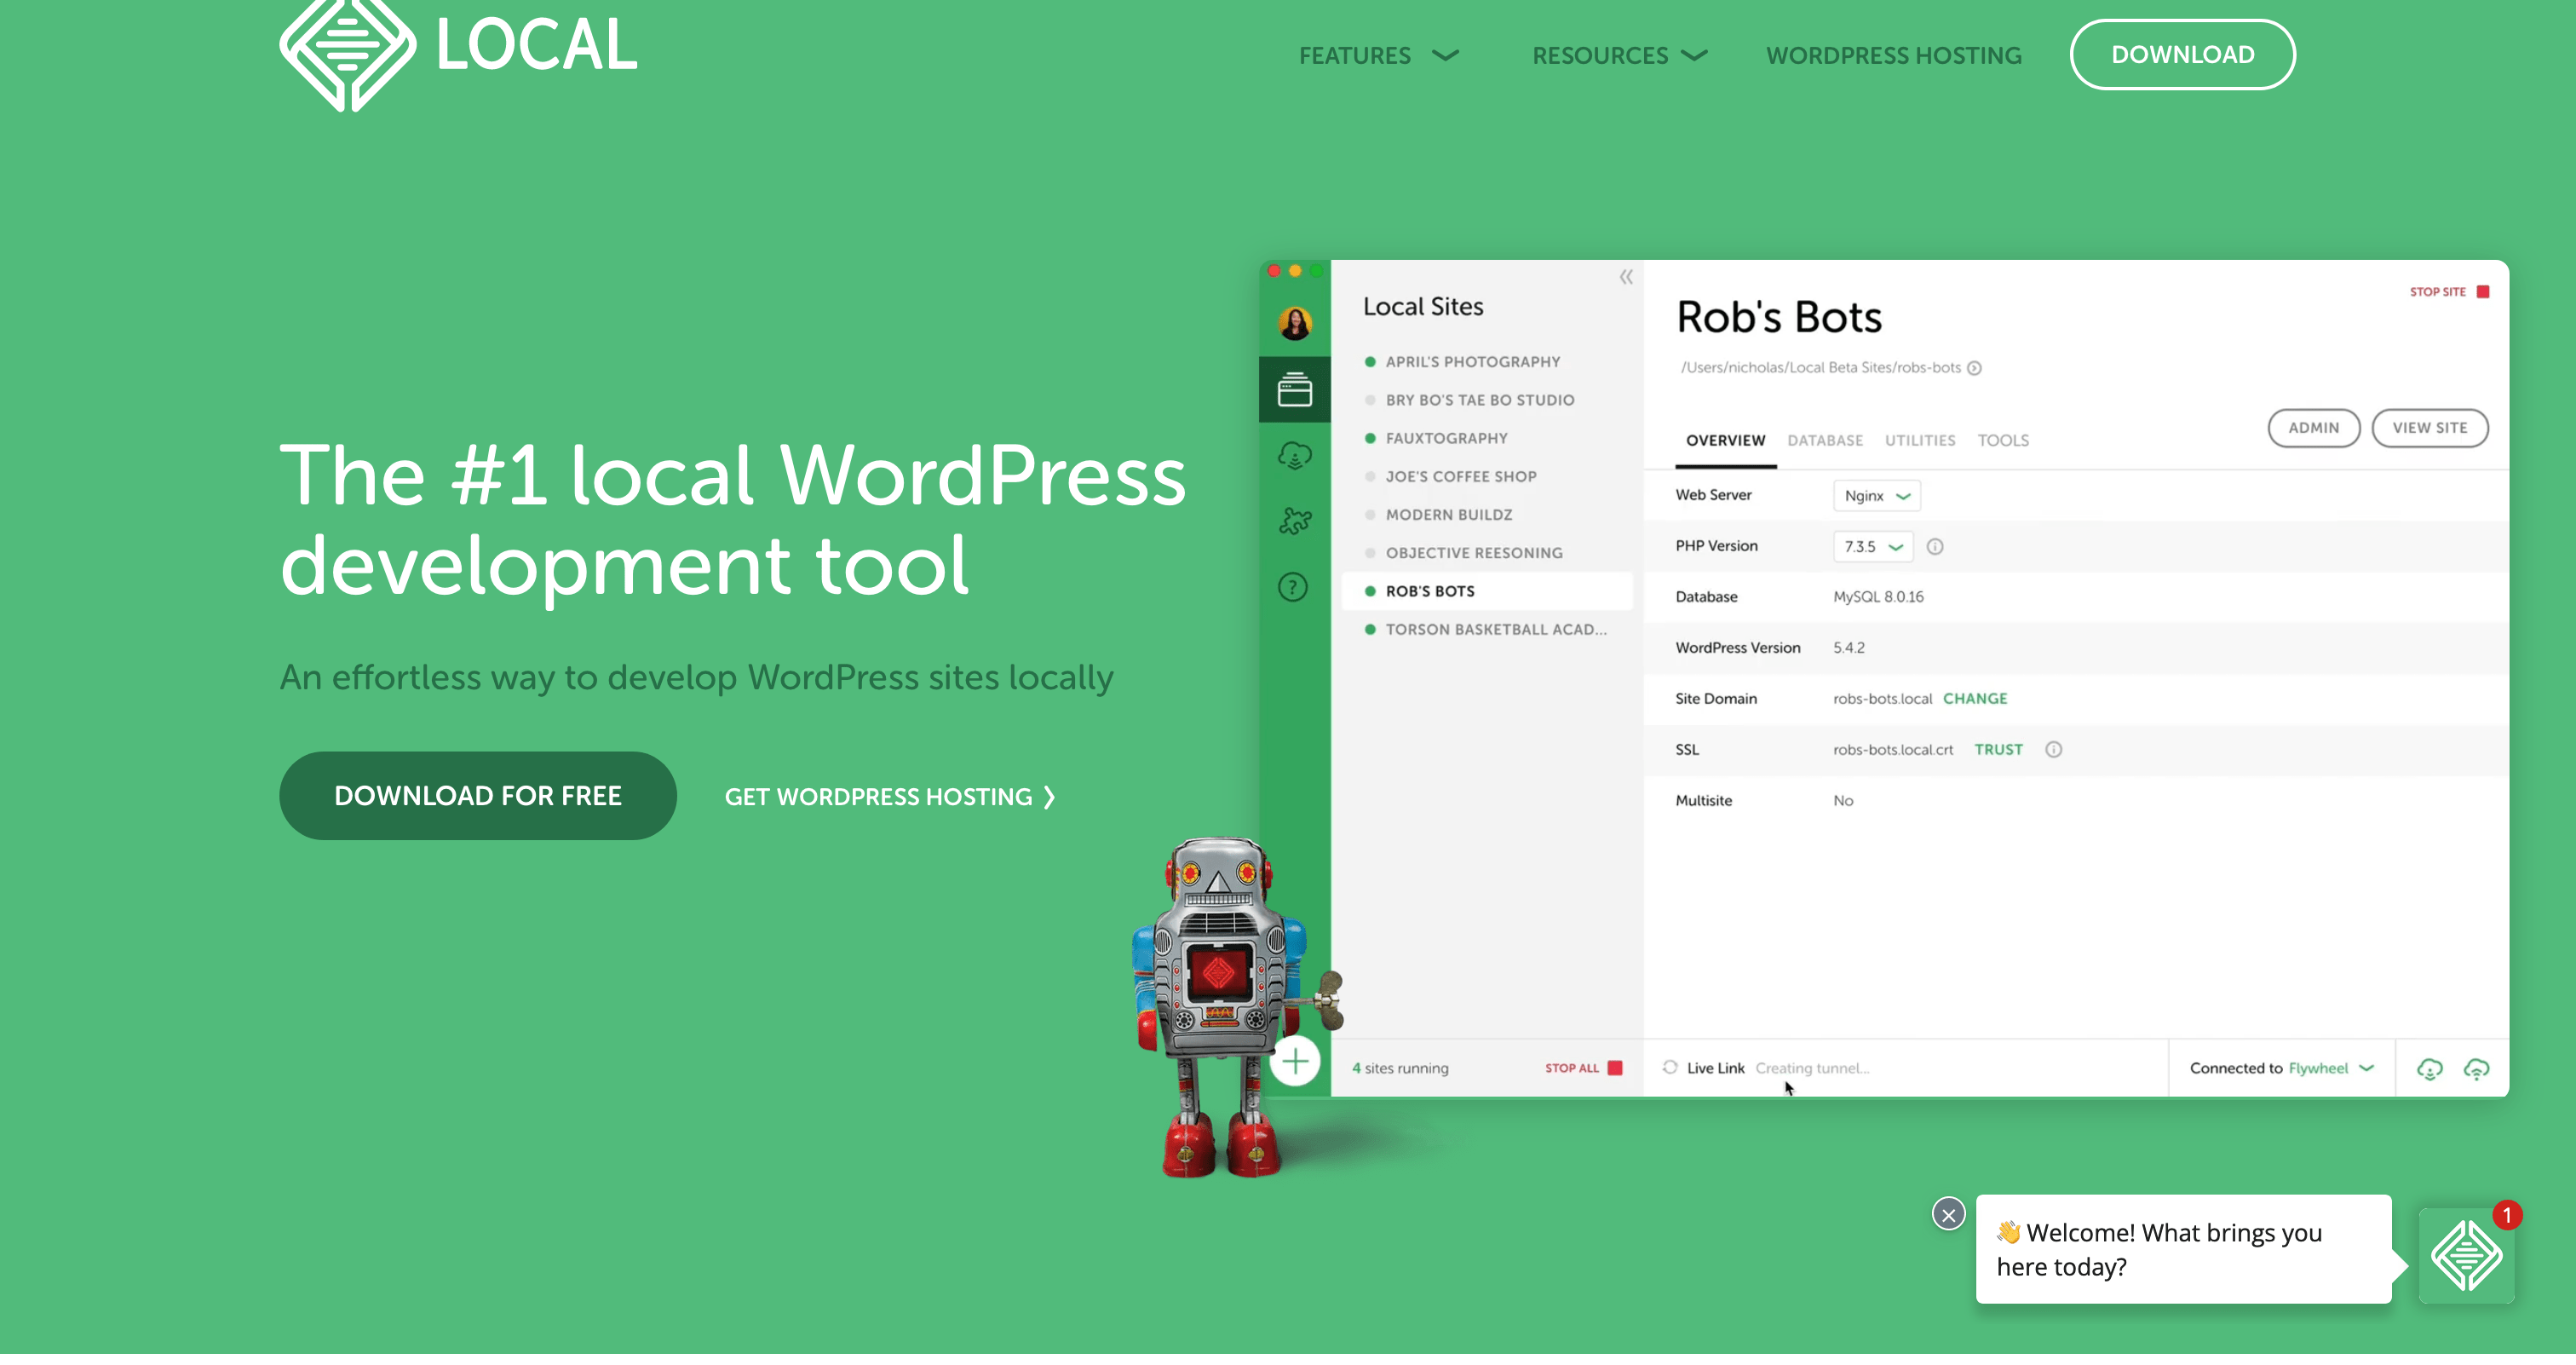
Once you installed it successfully and (optionally) logged into you free account, you should see something similar to this:

Obviously, you won’t see any sites there at your first start. But the rest should look similar.
So now what you do is click at the button in the bottom left corner and the first of three configuration pages pops up.

Here you can select a blueprint, if you already created one. You could also import a backup of another LocalWP or live website, to create a clone locally and work on this site. Here is a video that shows how: YouTube.
After the next to screens, where you input the name of the project and set up the admin credentials, you are good to go. The website is created and you see the admin screen of your new local WordPress site.

And this my friend is the most useful screen ever. In the Bottom you can see “Line Link”. When you click on “Enable”, it will create a tunnel to the web, which you can send your client and show the current state of the website. And all this for free and with just one click!
In the top section, you can access the site folder, where all the WordPress files are included, by clicking on the green button “Go to site folder”. Here you can create you theme folder and open it in VS Code or your preferred code editor.
On the right side you can easily open your site in the browser or jump directly into the WordPress admin backend.
And I tell you – all of these features combined are such a charm. And on my MacBook M1 Pro it is just unbelievable fast. I never go back to docker.
Okay – now you are ready to develop! But if you still want to choose docker now – here comes the alternative solution with docker-compose, which led me to frustration. But maybe it works for you.
Alternative: Local Development environment with docker-compose on macOS
As my previous solution worked quite good before the update, I also want to share it with you. Its also very easy to set up – especially if you already use docker. Or at least have it installed already.
So basically what I did was:
- Install docker (if not already done)
- Create
docker-compose.ymlwith the code below - Assign volumes for every theme and plugin you want to create
- Run
docker-compose up -d
Aaaand you are good to go.
So here is the docker-compose.yml file I used:
version: '3'
services:
  db:
    platform: linux/amd64 # or linux/arm/v7, depending on your system
    image: mysql:5.7
    volumes:
      - db_data:/var/lib/mysql
    restart: always
    environment:
      MYSQL_ROOT_PASSWORD: somewordpress
      MYSQL_DATABASE: wordpress
      MYSQL_USER: wordpress
      MYSQL_PASSWORD: wordpress

  wordpress:
    platform: linux/amd64 # or linux/arm/v7, depending on your system
    depends_on:
      - db
    image: wordpress:6.3.1-php8.0-apache
    ports:
      - "8000:80"
    restart: always
    environment:
      WORDPRESS_DB_HOST: db:3306
      WORDPRESS_DB_USER: wordpress
      WORDPRESS_DB_PASSWORD: wordpress
      WORDPRESS_DB_NAME: wordpress
      WORDPRESS_PHP_INI_UPLOAD_MAX_FILESIZE: 64M
    volumes:
      # add this file in one dir up
      - ./theme:/var/www/html/wp-content/themes/my-theme/
      - ./plugin:/var/www/html/wp-content/plugins/my-plugin/
volumes:
  db_data:
Conclusion
Development can be frustrating sometimes. But with the right tools, it can be so much fun. When I started with WordPress Theme & Plugin development, it was more comfortable to use the tools I already knew. But my learning from this is, that it makes sense to look out for other solutions. It can save you some hours of frustration and could be so much more fun.
So have fun and use LocalWP for your local development environment!
(I don’t get money for this btw, just personal experience)